Photographing Paintings: How to Take a Good Photograph of Your Art ?
Apr 21, 2016
Whether you want to create prints of your work, share it online or simply keep a personal record before selling it, knowing how to take the perfect picture is vital. With photographs often being the sole representation of an artist’s work, with a large majority of galleries examining digital images, instead of the actual artwork, taking a good photo can often mean the difference between getting into an exhibition or selling that important piece. There are many different ways to photograph a painting, but one of the most popular methods is known as cross-polarisation. Read on for our how-to guide for taking that perfect picture.
Photographing Art - Your Equipment
1. Camera
Any good camera, digital or traditional, will work with cross polarisation. Concerning the camera’s lens, a 50mm lens has less internal glass than a compound zoom lens, meaning that it will produce a sharper image. However, this does not mean that you cannot use a zoom lens, just ensure that you are zoomed to around 50mm or above. Using a wider zoom will distort your painting outward and you will witness the straight edges of the frame curve and bulge toward the edges, deforming the photo of your painting.
2. Filter
As far as filters go, it is best to opt for a linear polarising filter over the lens, as circular polarising filters will leave large portions of your painting full of glare.
3. Lighting
When it comes to lighting, any tungsten light is advisable. The more powerful the light the better, as light weakens as it travels away from its source. The larger the painting, the further away the lights need to be in order to avoid the process of fall-off, when one side of the painting becomes darker than the other. When shooting smaller paintings, it is possible to use a single light or a lower wattage.
4. Gels
When using a linear polarising filter, the gels hang in front of the lights. Some lights come with optional frames with clips that facilitate hanging the gels in front of the light; however, it is also possible to get creative and devise your own device out of wire or coat hangers.
5. Tripod
Due to the slow exposures involved in shooting with polarising filters, it is important to use a tripod in order to keep your camera steady.
 Richard Caldicott - Untitled, 2014, 11.7 x 8.3 in
Photographing Paintings - The Process
1. Position your lights
The lights should be positioned at approximately a 45-degree angle to the painting you are photographing. When photographing an oil painting, it may be desirable to put both lights to one side in order to achieve a slight shadow on the brushstrokes. It is also possible to put the lights on opposite sides of the work at 45-degree angles, which can be advantageous when wishing to flatten out the texture. As a guide, lights should be positioned around four metres away from a painting measuring around 75x100cm. It is essential to ensure that the gels are not too close to the lights, as this can cause them to melt or to become warped, and that the polarisation lines etched onto the surface of the gels are both aligned in the same direction. Anything that is not polarised at the 45-degree angle will create glare, so it is best to shoot at night, or to choose a room in which all other light sources are blocked off.
2. Set your camera
It is preferable to use the manual mode for setting your exposure. Shooting at a five-second exposure with a focal length of around f/10, provided extra focus depth to allow for any errors in focusing. The ISO setting on a camera traditionally refers to the sensitivity of film and the sensitivity of the image sensor; the higher the ISO number, the grainier the image will appear. To this end, it is best to use the lowest ISO setting on your camera, as this will provide you with the sharpest picture possible. If your camera comes with a tungsten white balance setting, use it. Some cameras also come with Kelvin setting, which it is best to set at around 3200K.
3. Take your picture
Simply look through your viewfinder and rotate the polarising filter on the front of the camera lens until you see the painting darken slightly and the glare vanish. If you are having difficulty seeing exactly when the glare disappears, move the camera closer to the painting to adjust the lens filter. When taking the picture, it is advisable to use the camera’s timer, set at around two seconds, in order to allow time to remove your hand after pressing the shutter, and thus to avoid a blurry image.
Happy snapping!
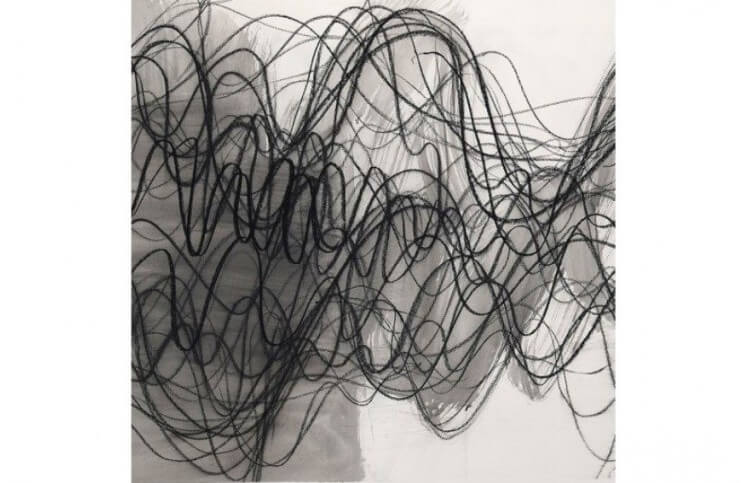
Featured Image: Margaret Neill - Manifest 1, 2015, 28.7 x 41.7 in
